Let’s look on how to centrally deploy an SSL certificate on domain computers and add it to the Trusted Root Certification Authorities using Group Policy. After the certificate is deployed, all client devices will trust the services that are signed by this certificate. In our case, we will deploy the self-signed SSL Exchange certificate (the Active Directory Certificate Services role in the domain is not installed) to user’s computers in AD.
If you use a self-signed SSL certificate for your Exchange server, the message will appear on the client computers during the first start of Outlook: this certificate is not trusted and it is not safe to use it.
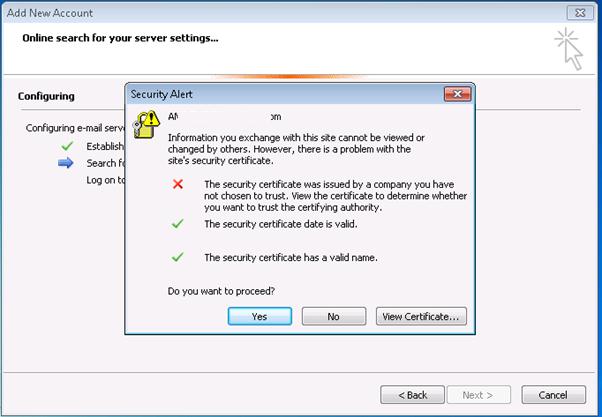
To remove this warning, you have to add the Exchange certificate to the list of trusted certificates on the user’s computer. This can be done manually (or by integrating the certificate to the corporate OS image), but it is easier and more effectively to automatically install the certificate using GPO. When using such a certificate distribution scheme, all necessary certificates will be automatically installed on all old and new domain computers.
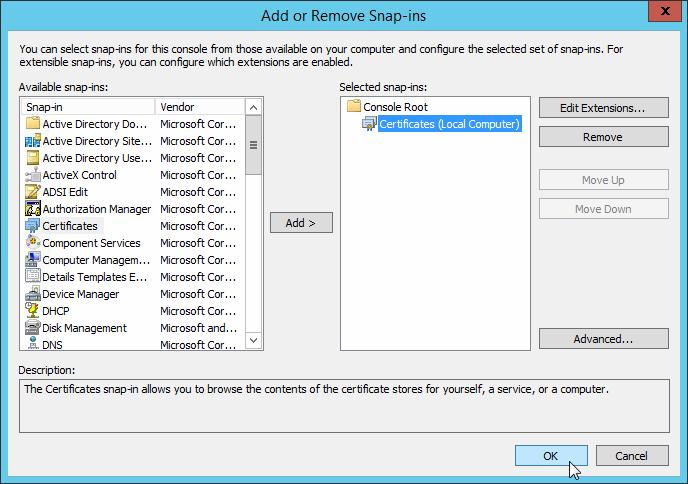
First of all, you have to export the self-signed certificate from your Exchange server. To do it, logon to your server, run mmc.exe and add Certificates (for a local computer) snap-in.
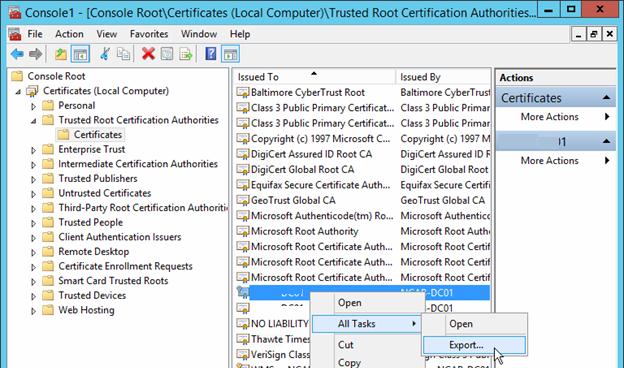
Go to the section Certificates (Local Computer) -> Trusted Root Certification Authorities -> Certificates.
Find your Exchange certificate in the right pane, right click on it and select All Tasks -> Export.
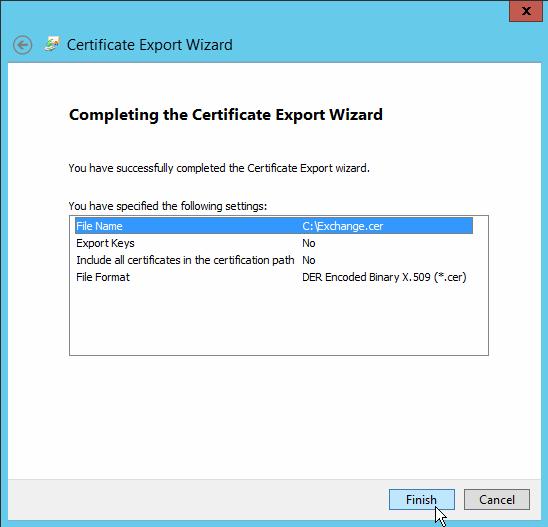
In the Export Wizard, select DER encoded binary X.509 (.CER) format and specify the path to the certificate file.
You can also export the SSL certificate directly from the browser. In Internet Explorer, open the HTTPS address of your web server with an untrusted certificate (in the case of Exchange, this is usually an address of the form https://exchange_cas/owa). Click the Certificate Error icon in the address bar, click View Certificate, and go to the Details tab. Click the Copy to File button to open the Certificate Export to CER file wizard.

You can also get the SSL certificate of the HTTPS site and save it in a CER file from PowerShell using the WebRequest method:
$webRequest = [Net.WebRequest]::Create("https://exchange_cas/owa")
 try { $webRequest.GetResponse() } catch {}
 $getcert = $webRequest.ServicePoint.Certificate
 $bytes = $getcert.Export([Security.Cryptography.X509Certificates.X509ContentType]::Cert)
 set-content -value $bytes -encoding byte -path "c:\ps\your_exchange_cert.cer"
So you have exported the Exchange certificate in a CER file. You need to place the certificate file to the shared network folder and all users must have a read access to it (if necessary, the access can be restricted with NTFS permissions or the folder can be hidden using ABE). For example, let the path to the certificate file be as follows: \\lon-fs01\GroupPolicy$\Certificates.

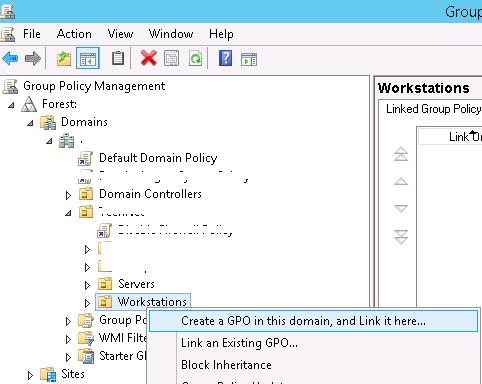
Let’s go to the creation of a new certificate deployment policy. To do it, start the Group Policy Management console (gpmc.msc). Create a new policy by selecting the OU (in our example, it is the OU containing computers since we don’t want the certificate to be installed on servers and technological systems), and in the context menu select Create a GPO in this domain and Link it here…
Specify the policy name (Install-Exchange-Certificate) and switch to the policy edit mode.
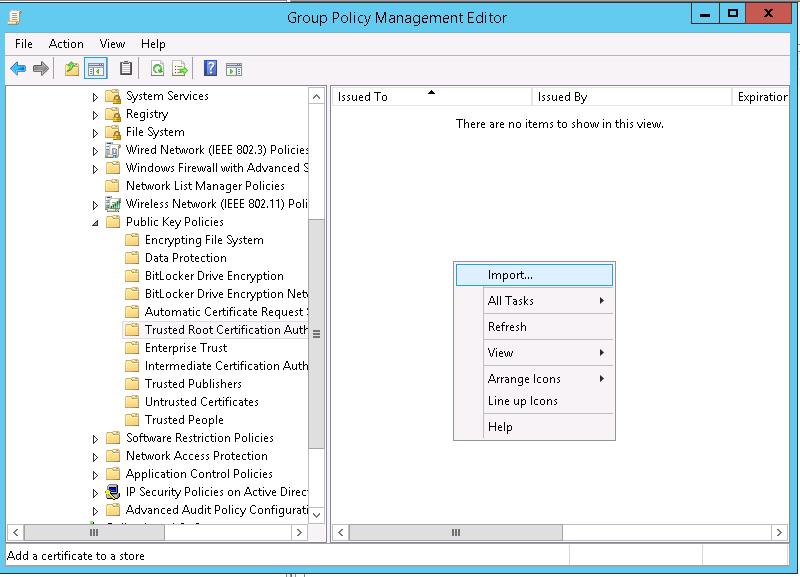
In the GPO Editor, go to the section Computer Configuration –> Policies –> Windows Settings –> Security Settings –> Public Key Policies –> Trusted Root Certification Authorities.
Right-click in the right part of the GPO editor window and select Import.
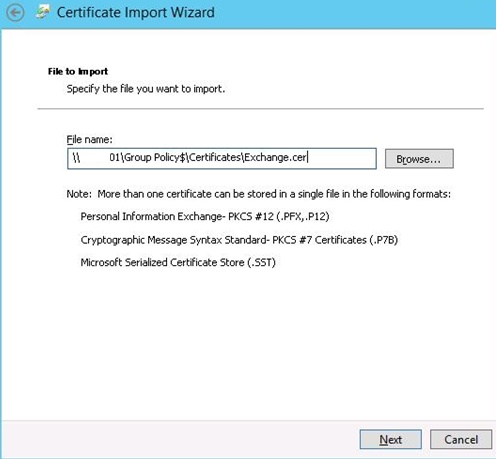
Specify the path to the imported certificate file, which you have placed in the shared folder.
In the corresponding step of the wizard (Place all certificates in the following store), do specify that it has to be placed in the Trusted Root Certification Authorities.

The certificate distribution policy created. You can target this policy on the clients more accurately using Security Filtering or WMI GPO filtering.
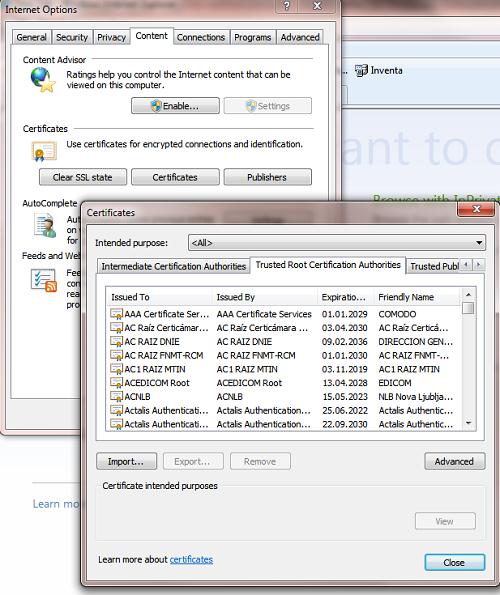
Let’s test the group policy settings by running gpupdate /force on the client. Verify that your certificate has appeared in the list of trusted certificates. It can be done either in the Manage Certificate snap-in (Trusted Root Certification Authorities -> Certificates) or in the Internet Explorer settings (Internet Options -> Content -> Certificates -> Trusted Root Certification Authorities).
Now during Outlook configuration the warning of the untrusted certificate won’t appear.
You can check that in the browser when you open your HTTPS site (in our example, this is Exchange OWA), a warning about an untrusted SSL certificate will no longer appear. Now, when you configure Outlook to connect your Exchange server (manual configuration of the Exchange server in Outlook 2016 is possible only through the registry), the warning of the untrusted certificate won’t appear.
If you want to apply the certificate deployment policy only to computers (or users) in a specific AD security group, select your Install-Exchange-Cert policy in the Group Policy Management console. On the Scope tab in the Security Filtering section, delete the Authenticated Users group and add your security group name (for example, AllowAutoDeployExchCert). If you link this policy to the domain root, your certificate will be automatically installed on computers that are added to the security group.

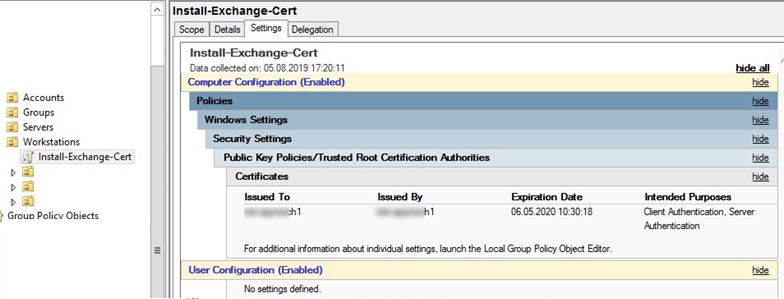
The same GPO allows you to install SSL certificates on multiple computers at once. For more information about the certificates that are deployed by your policy, check the policy Settings in the GPMC console. As you can see, the Issued To, Issued By, Expiration Date, and Intended Purposes certificate properties are displayed.
If computers don’t have direct Internet access, in this way you can update trusted root certificates on all devices in the domain. But there is a simpler and more correct way to update root and revoked certificates in the isolated domains.
Thus, you have certain a policy of automatic certificate distribution on all domain computers (on a specific organizational unit or domain security group). The certificate will be automatically installed on all new computers, without requiring any manual actions from technical support team. For security reasons, it is advisable to periodically scan the Windows Certificate Root store for suspicious and revoked certificates.
1 comment
If you remove Authenticated Users from the scope to add a User AD group, you must delegate read to the computer part. This article is incorrect/misleading, it doesn’t talk about the 2016 change to security filtering https://support.microsoft.com/en-us/help/3163622/ms16-072-security-update-for-group-policy-june-14-2016