This article will show you how to share folders, files, and printers between Windows 10/11 devices on your home or small office network. Prior to Windows 10 1803, you could use the HomeGroup feature to share resources across a Windows network, making it easy to create a small home or office network and quickly share folders and printers. In modern Windows builds, you can use the built-in SMB features to share files and printers without HomeGroup.
Enable Files and Printer Sharing on Windows 10 and 11
In order for your Windows computer to act as a server that will share its folders and printers with other devices on your local network, you need to configure some network services and sharing options. We described all these settings and services in the detailed article Windows not showing computers in a network.
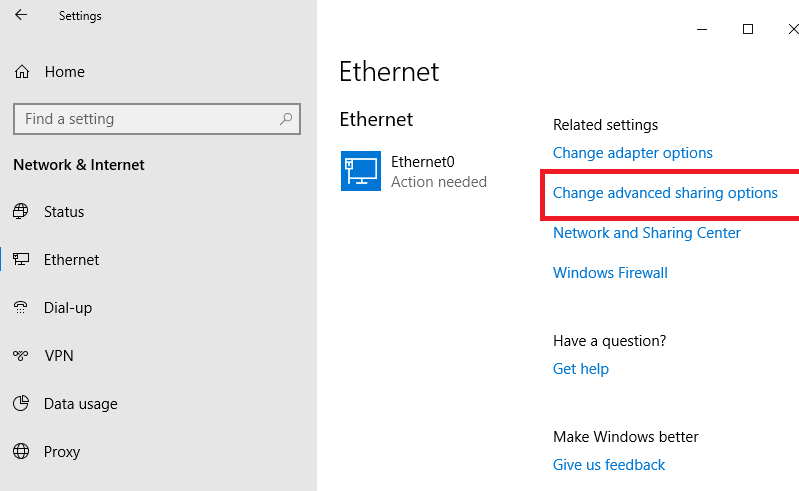
In Windows settings (on both computers), go to the Settings -> Network and Internet -> select your network connection (Ethernet or Wi-Fi) -> Change advanced sharing options (or run the command control.exe /name Microsoft.NetworkAndSharingCenter /page Advanced).
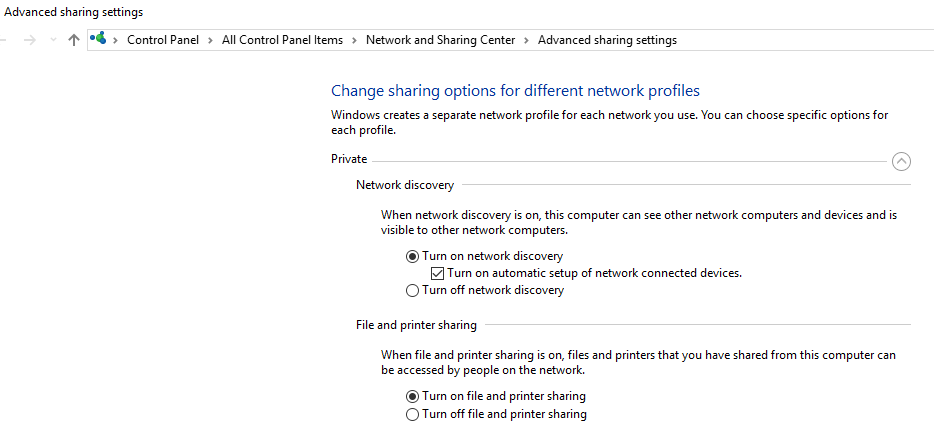
Then enable two options in the Private section:
- Turn on network discovery;
- Turn on file and printer sharing.
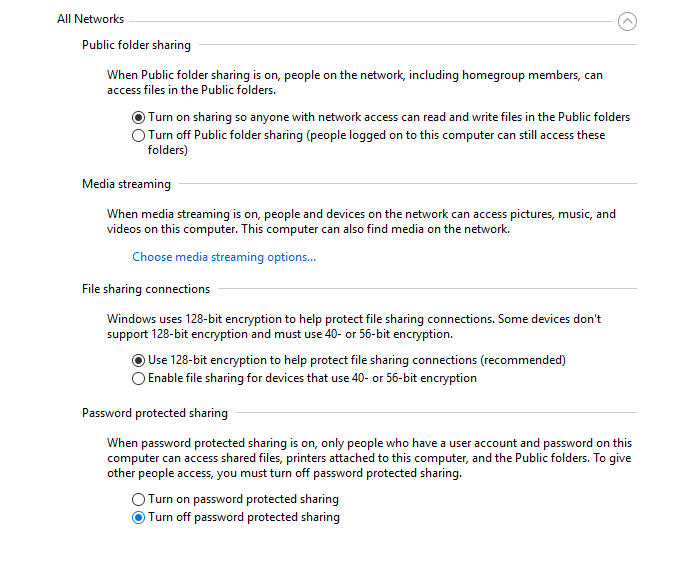
In the All networks section select the following options:
- Turn on sharing so anyone with network access can read and write files in the Public folder;
- Turn off password protected sharing.
For a small office LAN, it is better to use password protection. In this case, you need to authenticate on the remote computer to access shared folders and printers. You can either authenticate with the remote computer’s user account and password, or you can create the same account with the same password on all computers and use it to log into the computer.
Check that the following conditions are true:
- All computers on your local network use unique names and IP addresses;
- The type of network is Private (read more about network profiles in Windows);
- If your network still has computers with legacy Windows versions (XP, Vista), you will have to enable SMBv1 protocol support for their communication in Windows 10 and 11, as well as allow network access under a guest account (see the article);
- Set the Function Discovery Resource Publication and Function Discovery Provider Host services to start automatically. Otherwise, when accessing shared network resources, you may receive the error 0x80070035: The network path was not found.
You need to set the same settings on another Windows computer, which will be used as a client and access your shared resources over the network.
How to Share a Folder over the Network in Windows 10 and 11?
In Windows, you can share any local directory over the network. After that, other computers on the local network will be able to open files from this shared network folder. Let’s see how to share a folder in modern builds of Windows 10 and 11 in your workgroup or domain.
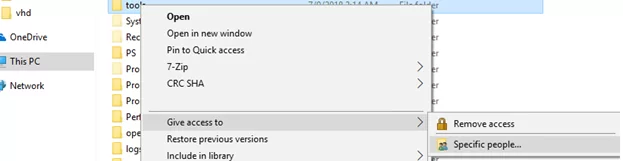
- Open the Windows File Explorer and locate the folder you want to share;
- Right-click on it and select Give access to -> Specific people;

- You can grant access to a specific account (with password access enabled: the user will be prompted for a password when accessing this network folder). Or you can allow access for all users, including anonymous ones (the Everyone group). In this case, when accessing files in this shared folder, the password will not be requested;
- When configuring permissions to access a shared folder, you can grant Read, Read/Write permissions or Remove access for the specific users or groups;
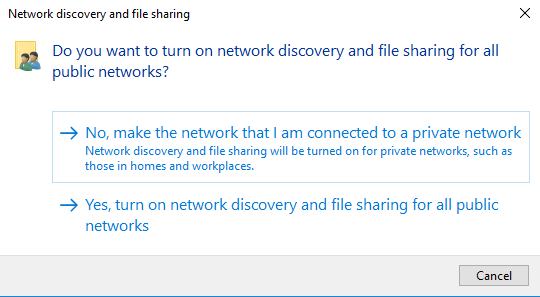
- If you have not previously enabled network discovery, you will be prompted:
Network discovery and file sharing
Do you want to turn on network discovery and file sharing for all public networks?
- No, make the network that I am connected to a private network (Network discovery and file sharing will be turned on for private networks, such as those in homes and workplaces).
- Yes, turn on network discovery and file sharing for all public networks.
If you are setting up a home or office network, select that your network is private
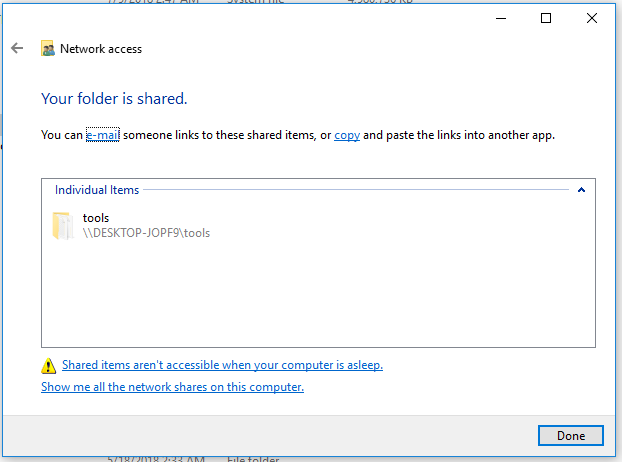
- You will then receive a message that your folder is shared and its UNC network address: \\Desktop-IOPF9\Distr. You can copy this link to the clipboard or send it by e-mail.

\\localhost .You can use the fsmgmt.msc (Shared Folder Management) console to fine-tune settings and permissions for network shares.
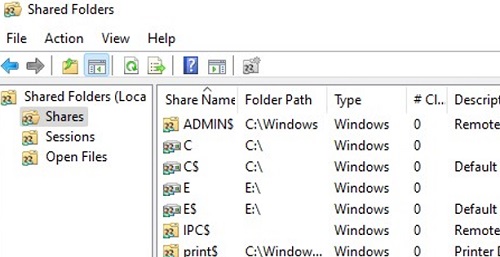
- Open the Shared Folders console and go to the Shared section;
- It contains a list shared folder on your computer. It also displays the administrative shares (Admin$, C$, IPC$, etc.), and the number of remote connections to each share (Client Connections);
 You can see the list of files opened on your computer over the network by remote users in the “Open Files” section of the console.
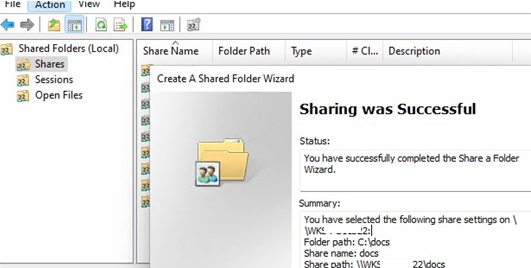
 - To create a new shared folder on a Windows computer, select Action -> New Shared Folder;
- The shared folder wizard opens. Select the local folder that you want to share, and set its network name (Share Name). You can allow this folder to be used offline, and set access permissions;
 You can also create a shared network folder using the
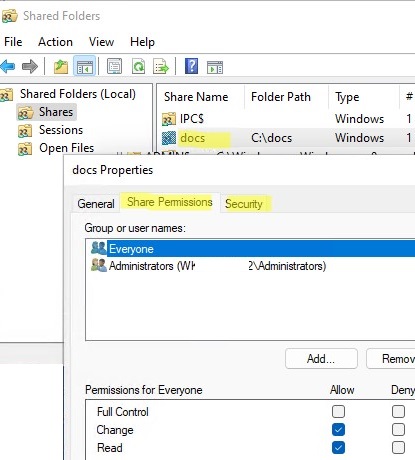
New-SmbSharePowerShell cmdlet. - In addition, in this console, you can view or change the current access permissions to the shared folder. A network folder has two access lists: Share Permissions and Security (NTFS file system permissions). If you grant access to Everyone at the share level, then effective access permissions to files and folders will be determined by NTFS ACL on the Security tab.

Now you can open this folder over the network from another computer. To do this, open File Explorer and navigate to the UNC path of the shared folder (for example \\Desktop-IOPF9\Tools). For convenience, you can create a desktop shortcut to this folder on your desktop or map it as a network drive using the net use command.
\\192.168.13.202\Distr.How to Share Printer on a Network in Windows 10 and 11?
In Windows, you can share a local printer connected to your computer with other computers over the network. We assume that you have already connected the printer (via USB, LPT, or wireless connection) and configured it on your computer.
To share a printer on a Windows 10/11 computer (to which the printer is directly connected to):
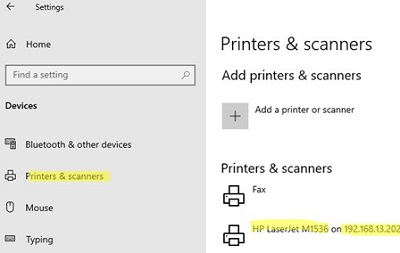
- Go to Settings -> Bluetooth and Devices -> Printers and scanners (or use the Settings URI command:
ms-settings:printers); - Select the printer you want to share and click the “Printer properties“;
- Go to the Sharing tab;
- Click the Change Sharing Options button, then enable the Share this printer option and specify the printer’s share name.


The shared printer name must not contain spaces or special characters, use only English letters and numbers (this name will be used to connect the printer to other computers).
Get-Printer
Share the printer over the network by its name:
Set-Printer -Name "HP LaserJet M1536" -Shared $True -ShareName "HPLJM1536"
You can now connect this shared printer to another Windows computer.
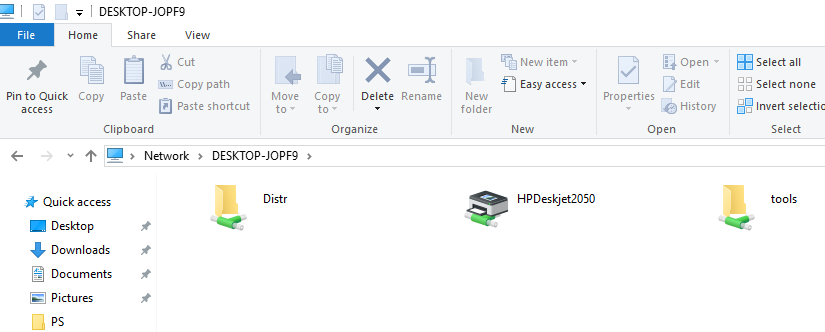
- The easiest way to connect the shared printer is through the network environment;
- Right-click on the Start menu and select Run, or press the key combination
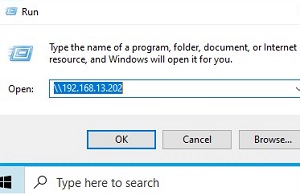
Win+R; - Connect to a remote computer with a shared printer by its name or IP address (you can get the computer name with
hostnameor IP address withipconfigcommand). Enter the remote computer name in UNC path format:\\ComputerName or\\IPaddress(for example\\192.168.13.202) and press OK;
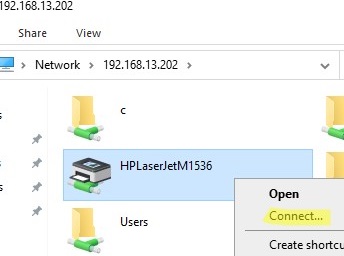
- If password protection is enabled on the remote computer, a window will appear asking you to enter the user name and password to connect. Then you will see a list of shared folders and printers on the remote host;
- Right-click the printer you want to install and select the Connect option. Windows will download and install the print driver from the remote computer and connect the shared network printer;

- Now you can use this printer to send your print tasks to a remote computer.

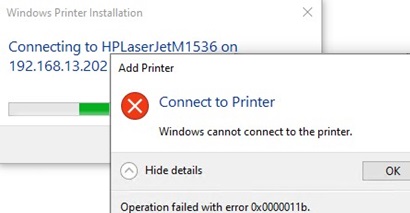
The latest Windows security updates block the installation of printer drivers from a remote computer. To bypass this restriction, run the following commands on the remote computer with a shared printer, and then reboot it:
reg add "HKEY_LOCAL_MACHINE\SYSTEM\CurrentControlSet\Control\Print" /v RpcAuthnLevelPrivacyEnabled /t REG_DWORD /d 0 /f
 reg add "HKEY_LOCAL_MACHINE\Software\Policies\Microsoft\Windows NT\Printers\PointAndPrint" /v RestrictDriverInstallationToAdministrators /t REG_DWORD /d 1 /f
Or you need to manually install the print driver on your computer before connecting the shared network printer (more secure way).
You can also connect the shared printer from a remote computer using the PowerShell command:
Add-Printer -ConnectionName \\192.168.13.102\HPLJM1536